Gravity Form Options
Create Add/Edit Listing Form
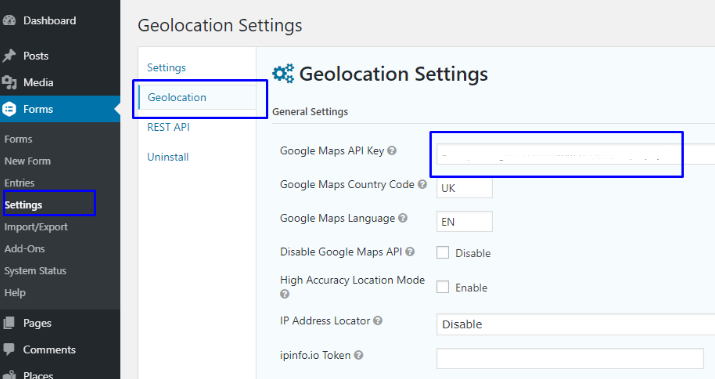
- Before creating a new form, setup Gravity Forms API Key first. Go to Dashboard - Form - Setting - Geolocation - Google Maps API Key. Paste and Save your Google Maps API Key.
- Go to Forms - Add New to Create New Gravity Form
- Add The Fields: Email, Drop Down, Geocoder, Map Address and 2 single line text Fields.
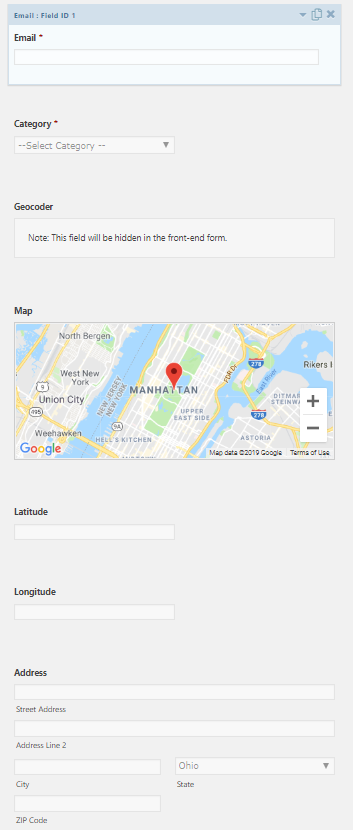
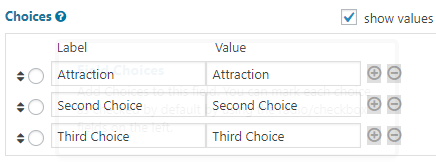
- Edit Drop down Field and add Categories in
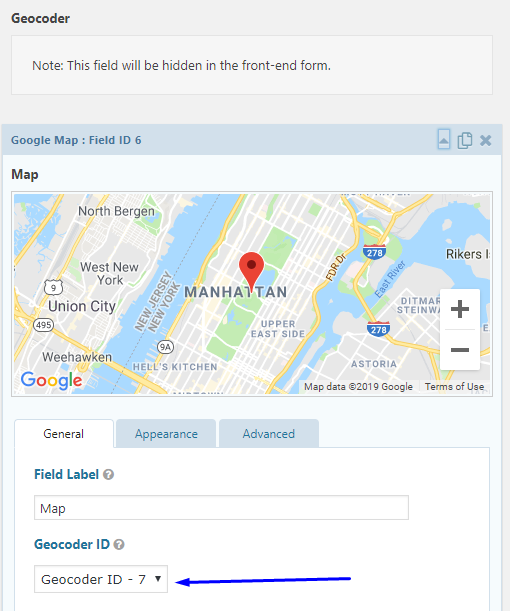
- Add Geocoder And Map
- Select the Geocoder ID on the Map
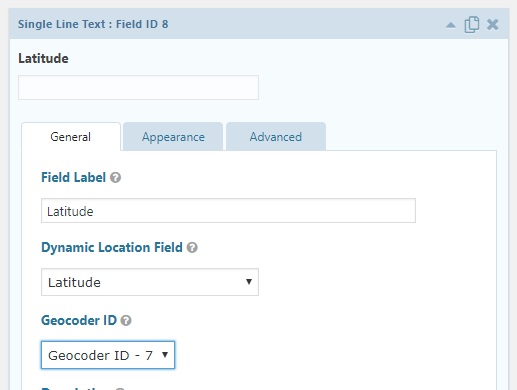
- Add 2 single text fields for Latitude and Langitude
- Connect it with Dynamic Location Field and Geocoder Id
 |
 |
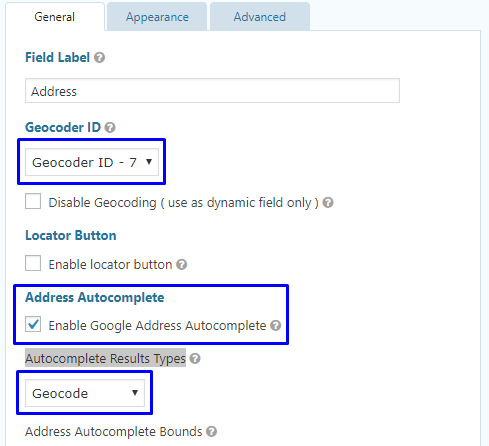
- Add Address > General > Enable Address Autocomplete > choose Geocode Autocomplete Results Types
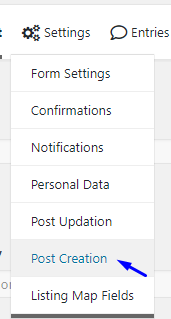
- Add Post Creation

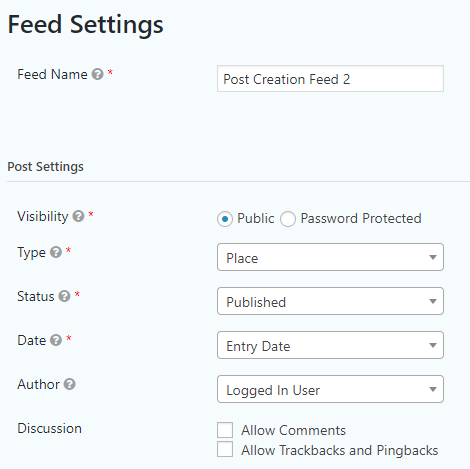
- Edit Post Settings
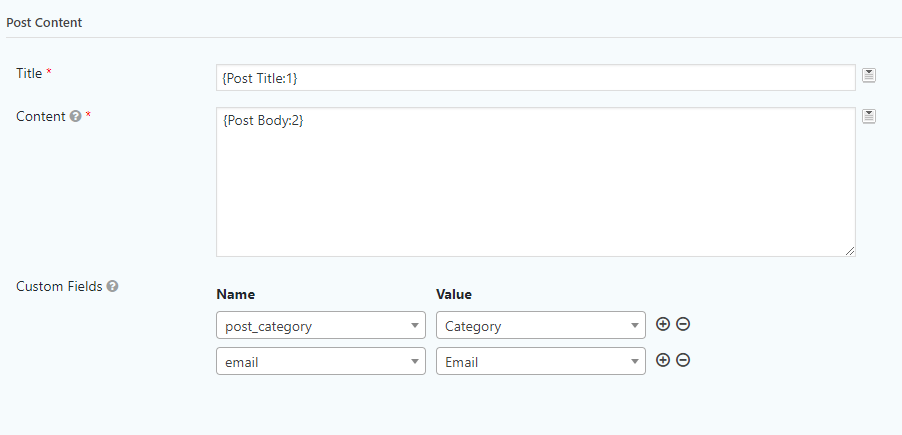
- Edit Post Content and Map the Fields
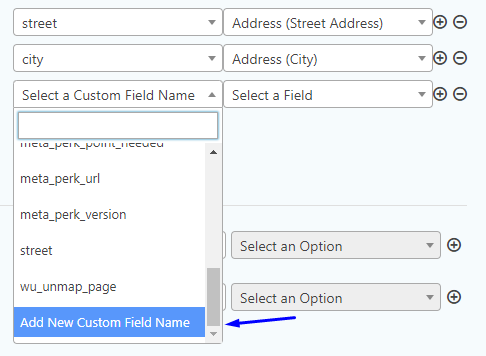
- Add custom field key as the name and map it to the gravity form field value.

- Map The custom Fields

- Add new if the feel didnt exist
- Update and test

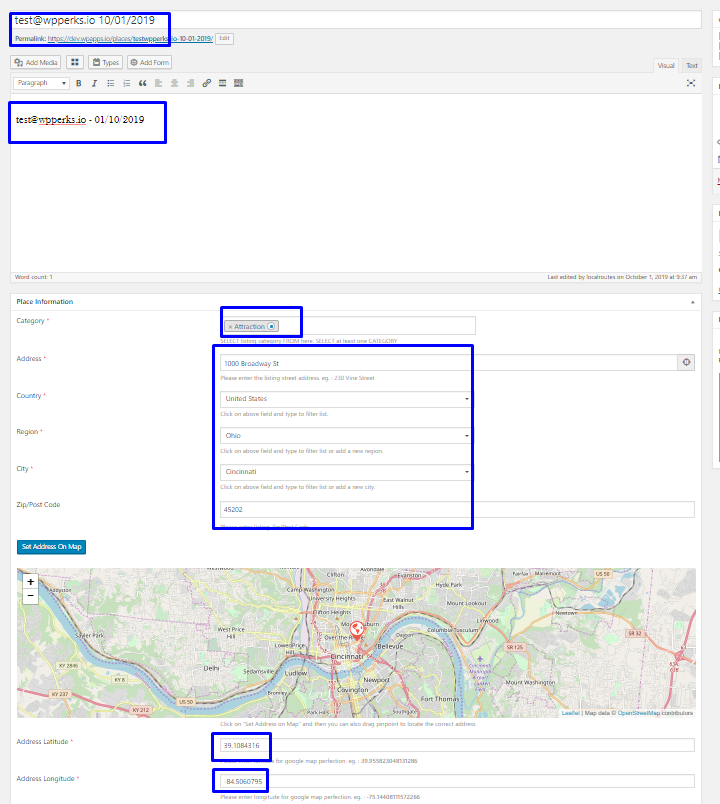
- Submit a test listing

- Check the Listing

- Check if the fields are populated
Create Update Listing
- Add New Form

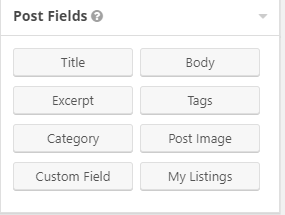
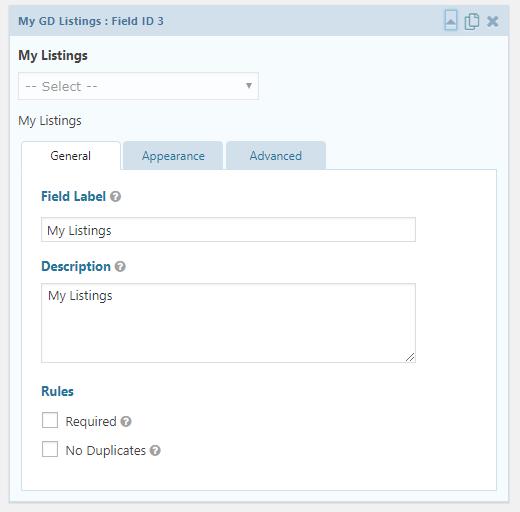
- Add Fields: My Listings (important) and other fields that you wish to update Title, Body, Category and save
- Rename The Label and Description as us wish
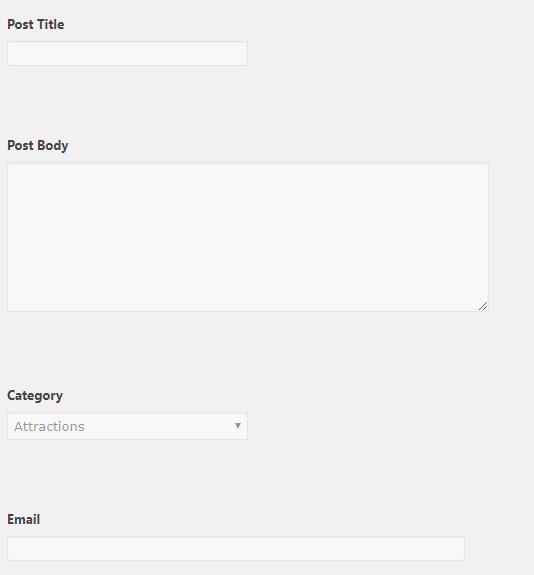
- Add the rest of the fields you want
- Example: Post Title, Post Body(Post Description), Category, email.
- Update the Form
Create Post Updation Field
- Go to Setting > Post Updation > Add New

- Add feed Name
Choose Visibility > determines who can read the post.
Type > Select one of the defined WordPress post types for the post.
Update Listing ID > Select field which contains listing field ID.
Status > Select the status for the post. If published status is selected and the post date is in the future, it will automatically be changed to scheduled.
Example:

- Edit Post Content and Map the Fields
- Edit Taxonomies
Tags > Assign terms to the post using a field value, an existing term or by adding a new term.
Categories > Assign terms to the post using a field value, an existing term or by adding a new term.

- Update Setting
Edit The Listing Map Fields
Map the Gravity fields with GD custom Fields.Example: Post Title to Place Title, Post Body to Place Categories etc. You will need to redo the listing map everytime you update the form.
Listing Map Fields Reset when you add new fields on the form.

- Preview the form and test it & Check if your form is working.

Create Contact Form/ Send Enquiry
- In the case you want to make the form sent to listing email and accepted by people who fill out forms.
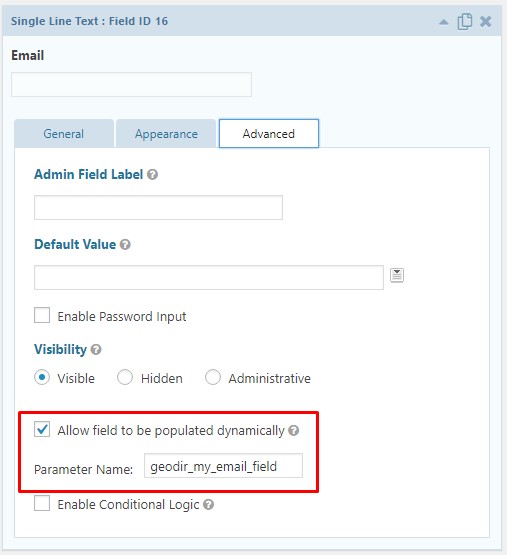
- In your form, add an email field (You can also use this for hidden field.).
- Open the email field advanced tab, and notice the option to set the field key parameter.
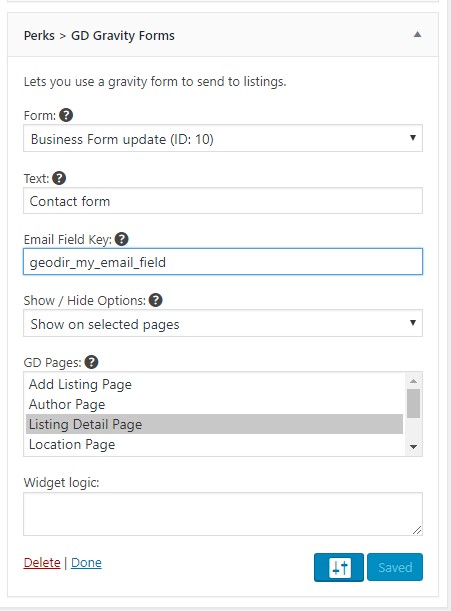
- Add widget “Perks GD Gravity Form” to show in your Details page sidebar
- Choose form (ex. 10)
- Set Email Field key
“About the email field key
What matters is that the field key is the same in both places. You can leave it as is during setup, or change it. Once you have decided what the key is: Update widget or shortcode key. Update Gravity Form Email field dynamic population key.”
The next version of Perks Gravity Forms for GD may change this configuration in order to enable the usage of different email fields like an alternate email contact address.
Extra Snippets
Dynamic GD Category
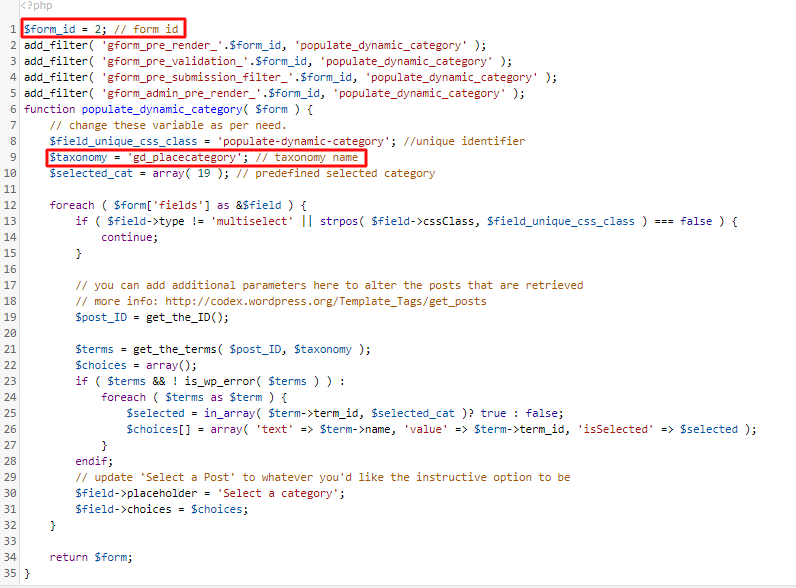
- Add the snippets below, change the form id (example: id 2) accordingly and taxonomy slug based on the CPT slug (example: gd_placecategory for Place CPT or gd_eventcategory for Event CPT).
| $form_id = 2; // replace with form id add_filter( 'gform_pre_render_'.$form_id, 'populate_dynamic_category' ); add_filter( 'gform_pre_validation_'.$form_id, 'populate_dynamic_category' ); add_filter( 'gform_pre_submission_filter_'.$form_id, 'populate_dynamic_category' ); add_filter( 'gform_admin_pre_render_'.$form_id, 'populate_dynamic_category' ); function populate_dynamic_category( $form ) { // change these variable as per need. $field_unique_css_class = 'populate-dynamic-category'; //unique identifier $taxonomy = 'gd_placecategory'; // replace with taxonomy slug $selected_cat = array( 19 ); // predefined selected category foreach ( $form['fields'] as &$field ) { if ( $field->type != 'multiselect' || strpos( $field->cssClass, $field_unique_css_class ) === false ) { continue; } // you can add additional parameters here to alter the posts that are retrieved // more info: http://codex.wordpress.org/Template_Tags/get_posts $post_ID = get_the_ID(); $terms = get_the_terms( $post_ID, $taxonomy ); $choices = array(); if ( $terms && ! is_wp_error( $terms ) ) : foreach ( $terms as $term ) { $selected = in_array( $term->term_id, $selected_cat )? true : false; $choices[] = array( 'text' => $term->name, 'value' => $term->term_id, 'isSelected' => $selected ); } endif; // update 'Select a Post' to whatever you'd like the instructive option to be $field->placeholder = 'Select a category'; $field->choices = $choices; } return $form; } |
- Go to Dahsboard - Form - Edit Form
- Add css to your category multi select field “populate-dynamic-category

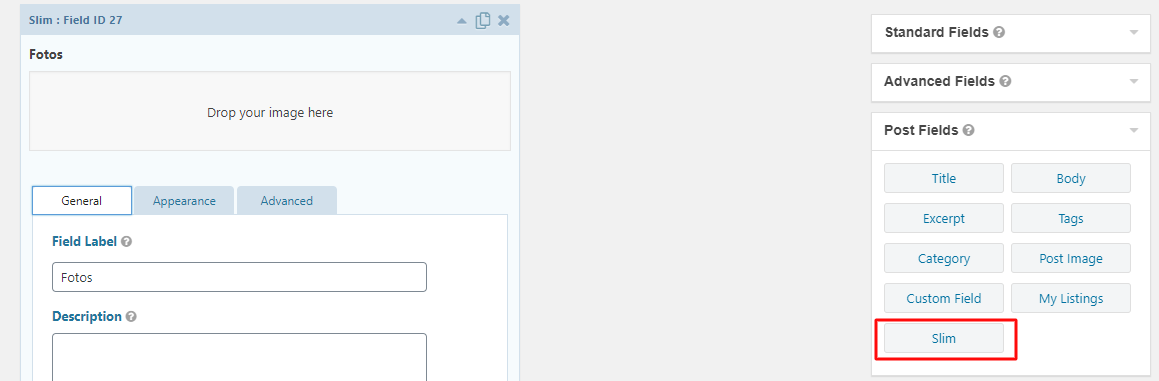
Slim Gravity Form Integration
- If you want to adjust the size of the images. You can use slim fields.
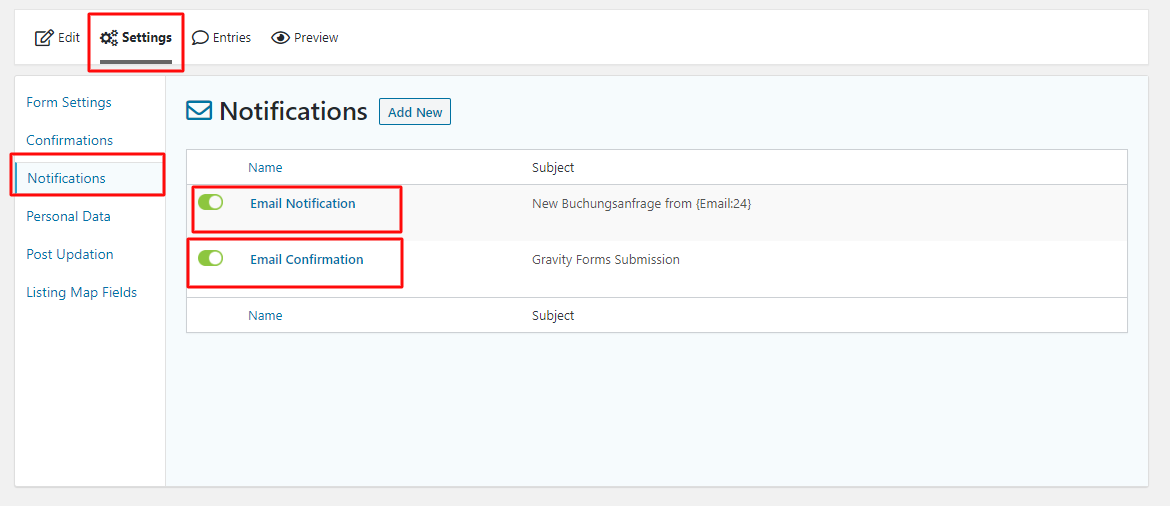
Options: Setup Gravity Form Email Notifications
- If the field settings are complete, go to setting > Notification.
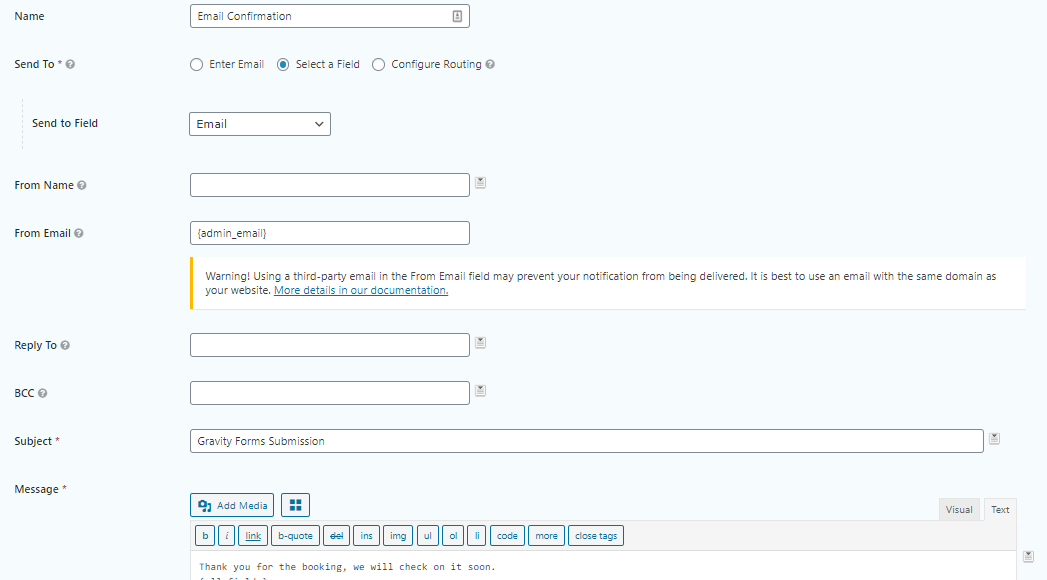
- To regulate who receives our e-mail, we will set it on email notification. For email confirmation it will be sent to the person who filled out the form.